Reclaimed Pallet Coffee Table

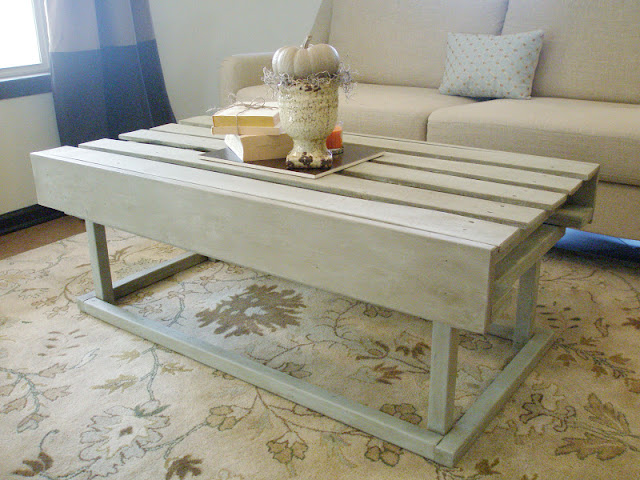
I have been dying to make a coffee table out of a reclaimed pallet! So when my mom gave me a pallet she found, I immediately knew what it was going to become!

Repurposed Pallet Coffee Table- www.AdorByMelissa.com
A big thanks to my mom for rescuing the pallet and my dad for working so hard transforming it!
Repurposed Pallet Coffee Table- www.AdorByMelissa.com
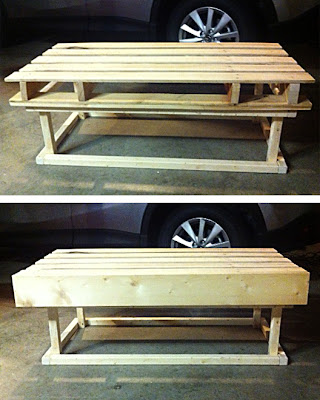
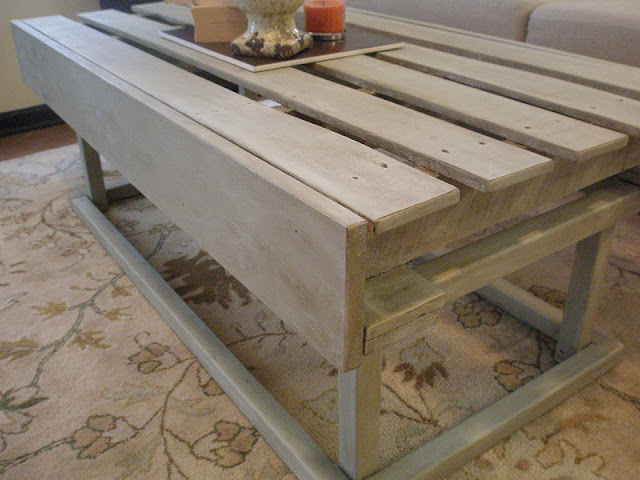
The pallet was too long for a coffee table so I measured and marked it to the length I wanted and my dad cut it down. Then he added a couple more 2"x4" boards under the planks for more support.

The box stretcher inspired table base was built out of 2"x2" boards, and turned out exactly how I envisioned it! 
Repurposed Pallet Coffee Table- www.AdorByMelissa.com
After it was put together my dad had the idea to add boards on the sides.  I loved this idea because it made it look complete.
Repurposed Pallet Coffee Table- www.AdorByMelissa.com
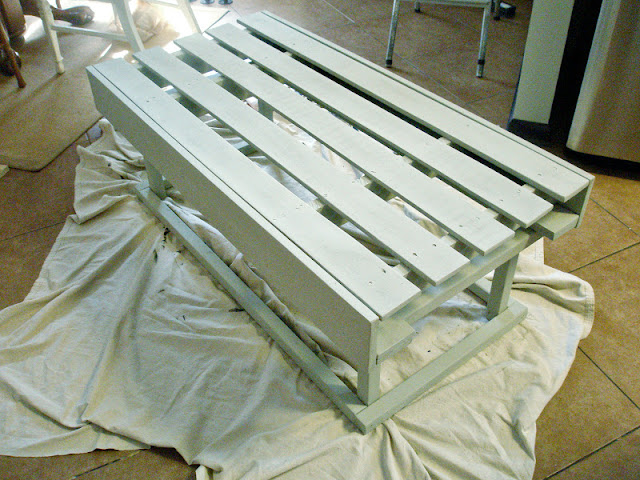
I decided to paint it Gray Horse by Benjamin Moore (same as the shutter headboard), but after I finished painting I wasn't satisfied.  It needed some distressing and glazing, so I lightly sanded the edges and glazed it with Rust-oleum Transformations Decorative Glaze in Java Brown.

Repurposed Pallet Coffee Table- www.AdorByMelissa.com
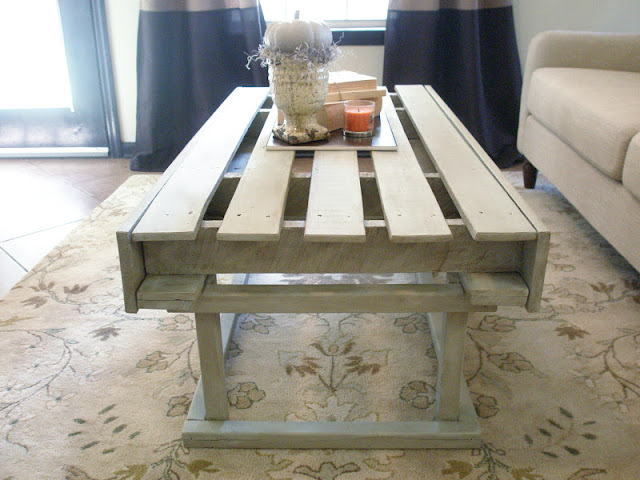
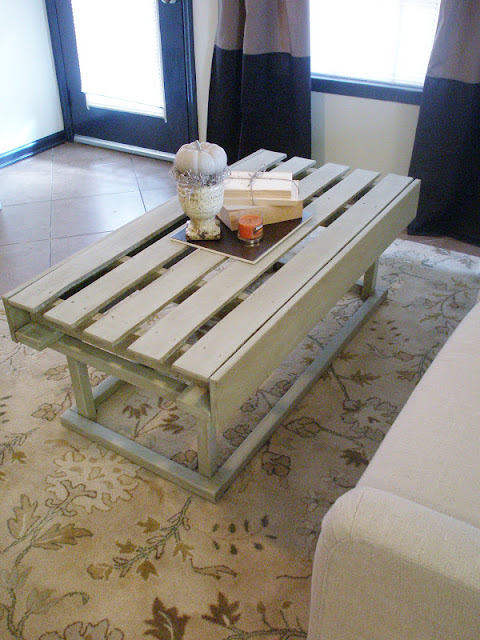
The color of the table looks perfect with the rug!
Repurposed Pallet Coffee Table- www.AdorByMelissa.com
Now I just need to get a glass table top since there are wide gaps between the planks. I don't want to be nervous about anything spilling on my pretty rug!
Repurposed Pallet Coffee Table- www.AdorByMelissa.com
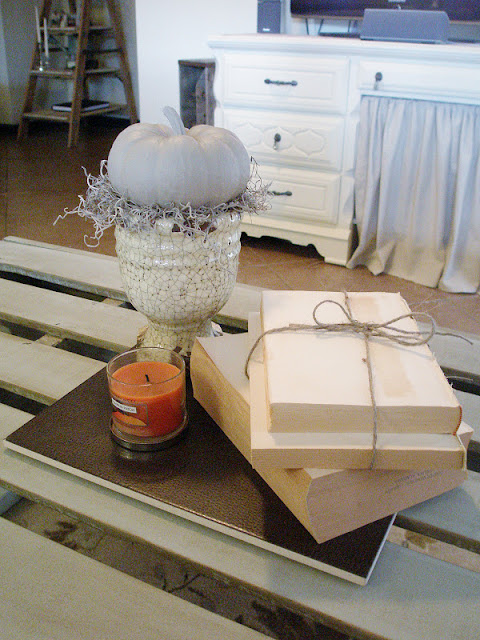
The decor on the coffee table is something I just threw together with items I already had.  I'm sure I will be changing it up often.
Repurposed Pallet Coffee Table- www.AdorByMelissa.com

Do you have a pallet project you are proud of?  Please share a link! I would love to see!

Simple Halloween Table Setting


Simple Halloween Table Setting by www.adorbymelissa.com
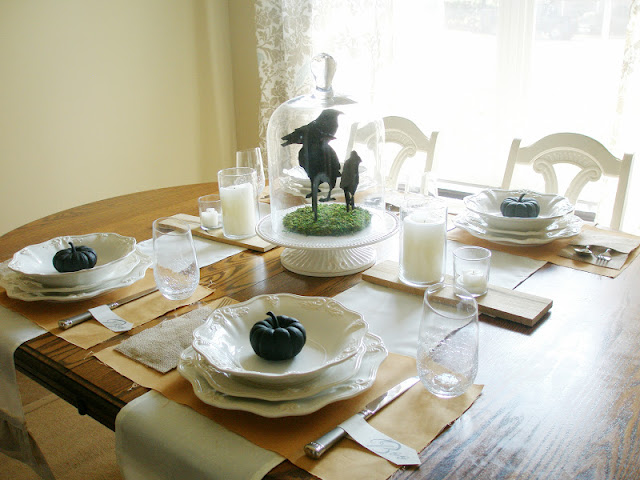
 My goal was to create a simple rustic Halloween table setting with items I already had.  I love how it turned out!

Simple Halloween Table Setting by www.adorbymelissa.com
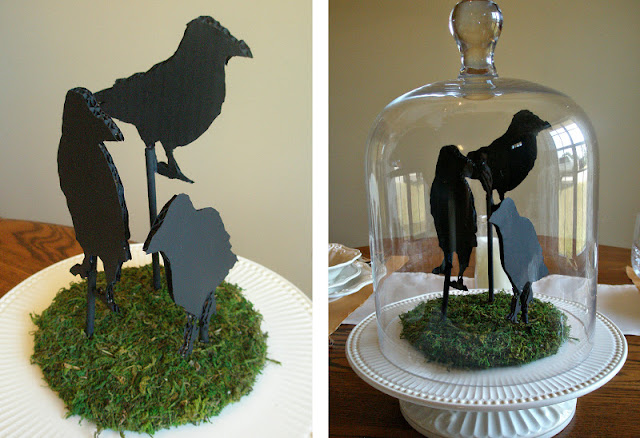
I wanted a raven centerpiece, so I drew three different positioned ravens on cardboard, cut them out with an exacto knife, hot glued dowels cut at different heights, and painted them black. Then I made the base by cutting a circle out of cardboard and covering it with a sheet of moss.  To attach the ravens, I cut a small hole in the moss covered cardboard and filled with hot glue before I stuck the dowel in. They look perfect under my glass cloche!
Simple Halloween Table Setting by www.adorbymelissa.com
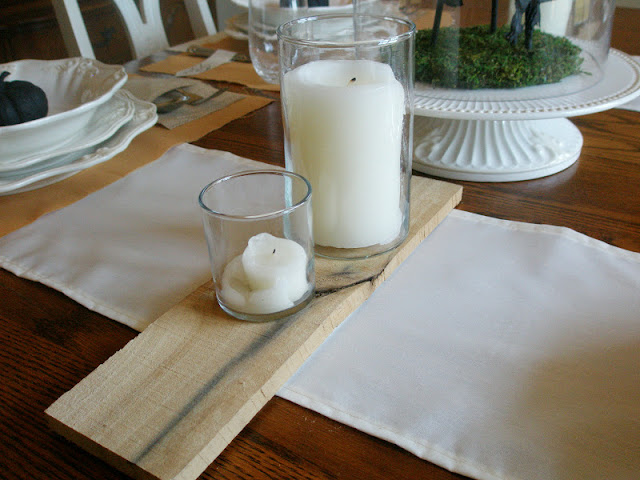
 On either side of the centerpiece I placed candles on old pieces of wood I already had. It really adds to the rustic look I was going for.
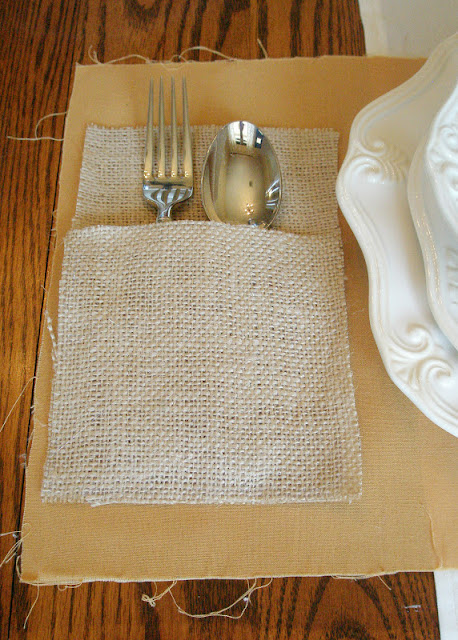
Simple Halloween Table Setting by www.adorbymelissa.comTo hold the silverware I created little pockets out of burlap by hot gluing two pieces together.
Simple Halloween Table Setting by www.adorbymelissa.com
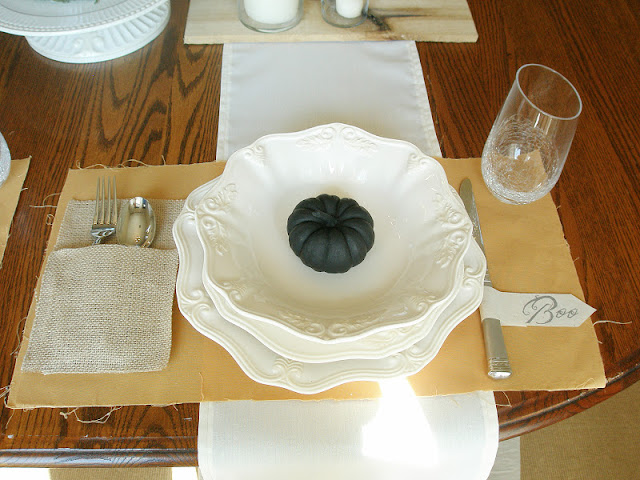
 It wouldn't be a Halloween table without a little "Boo" tag wrapped around the knife.
Simple Halloween Table Setting by www.adorbymelissa.com
 And of course I put little painted black pumpkins in the bowls!
Simple Halloween Table Setting by www.adorbymelissa.com
The placemats are light orange pieces of fabric with frayed edges, and my Pier One crackled glasses work perfectly!
Simple Halloween Table Setting by www.adorbymelissa.com

How are you all decorating for Halloween?


Linking up with:


Shutter Headboard

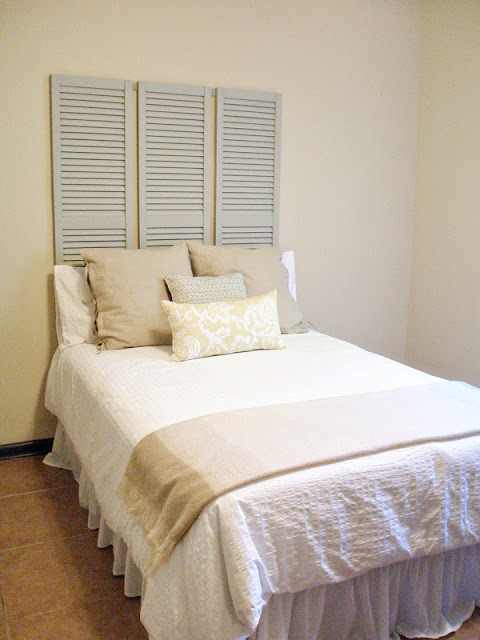
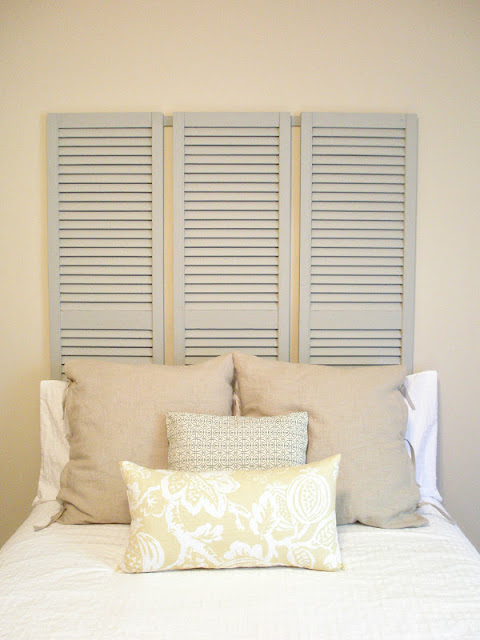
As I mentioned in my first post about our new home, I was given a full size bed and a black shutter headboard that my grandfather made. They work perfectly as a guest bed, but I wanted to fix the headboard up a little and make it my own.

Shutter Headboard DIY
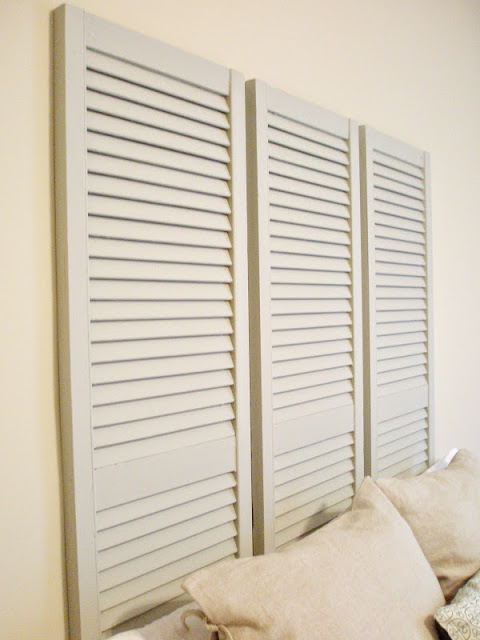
It was an easy transformation! I painted the shutters Gray Horse by Benjamin Moore, which is one of my fav gray paint colors.  Then I removed the floor stand on the bottom and mounted it higher on the wall by drilling wood screws through the shutters and straight into the wall.
Shutter Headboard DIY
Before:
 After:
Shutter Headboard DIY

Shutter Headboard DIY
Now all I need is some nightstands and wall decor and the guest bedroom will be complete.


Antique Ceiling Tin Wall Decor

I'm always searching for unique wall decor. So when I came across this vintage mint ceiling tin at a local flea mall I knew it would be a perfect addition to our living area. It is a 24"x24" tile and is framed in reclaimed wood.


Pumpkin Table Settings

I love decorating for Fall, especially creating Fall table settings!
So I thought I would share a couple different ways I decorated my dining table for my fav season!

Autumn Table Setting
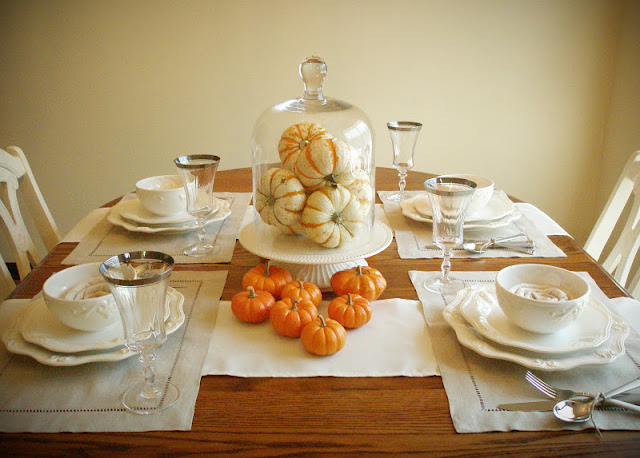
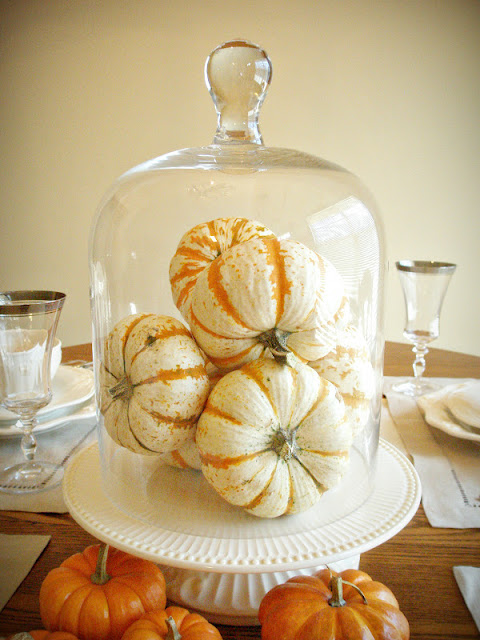
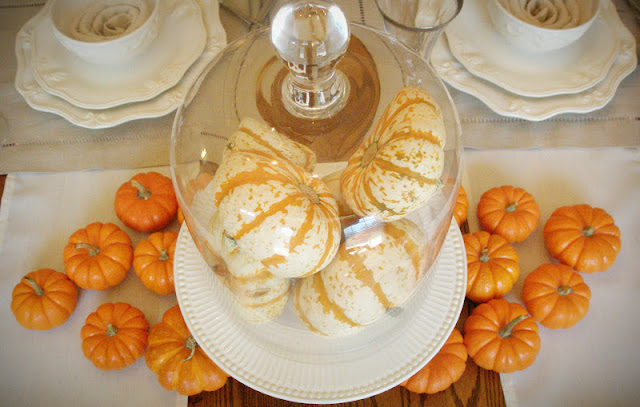
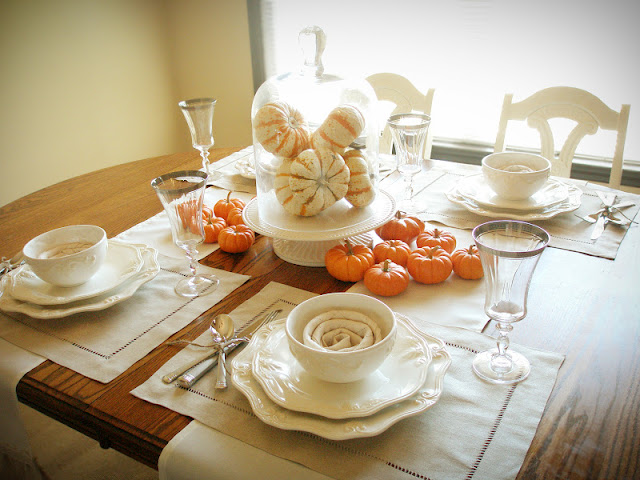
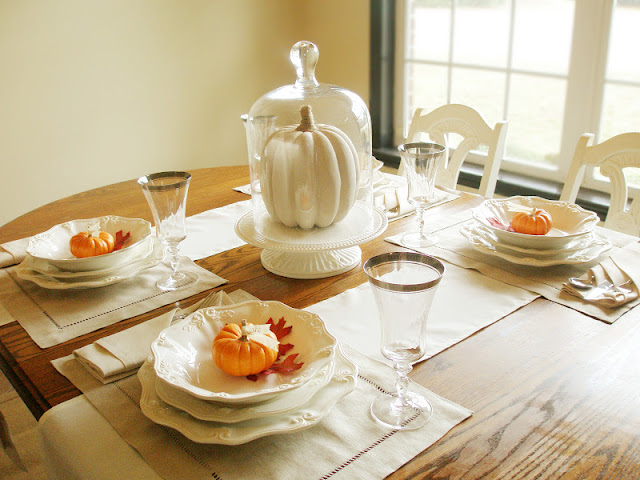
When I saw these cute little pumpkins at Wal-Mart, I had the idea to use them for a pumpkin centerpiece.

Autumn Table Setting
The centerpiece consists of my Lenox Butler's Pantry Cake Platter and a glass cloche from World Market.  This is a great way to display my pretty cake stand when I don't have a cake to serve, and the best part is I can easily change out the cloche decor for different seasons and occasions.

Autumn Table Setting
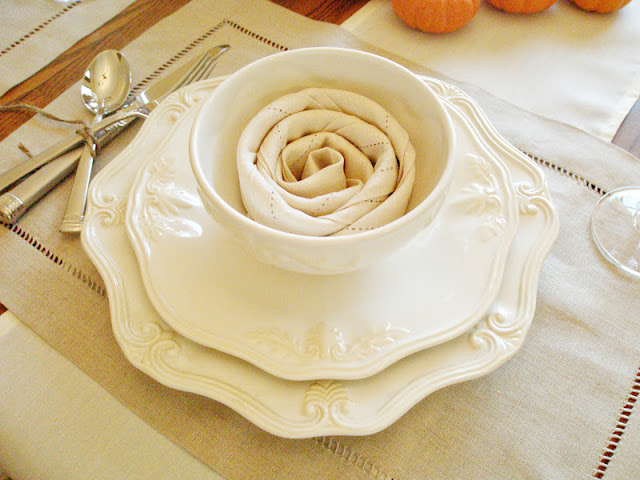
I wanted to uniquely fold the linen napkins so I decided to roll the napkins up in the bowls!

Autumn Table Setting
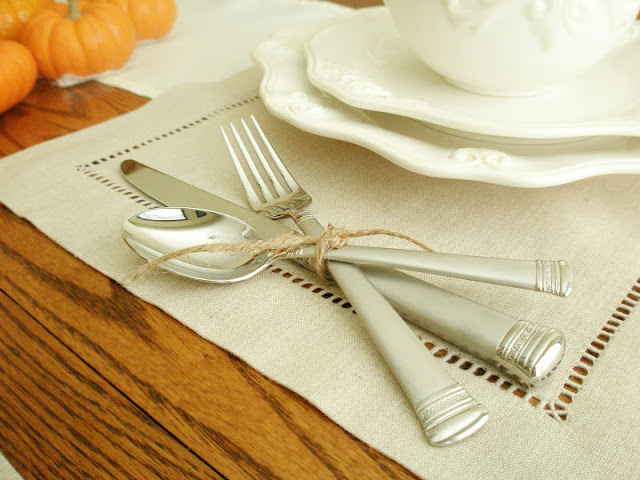
 I arranged the flatware by stacking them and tying them with jute twine.
The flatware is Waterford Carina Matte and is no longer available and the placemats are the Linen Hemstitch Placemats in Flax from Pottery Barn.

Autumn Table Setting
Perfect setting for a small dinner party!

Autumn Table Setting
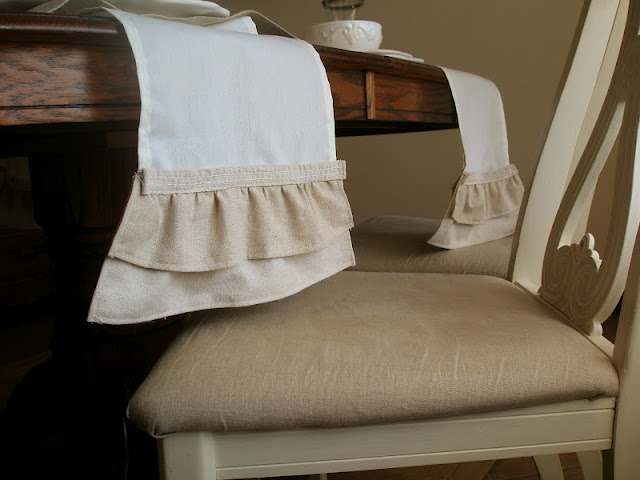
I made the two table runners myself with ivory fabric I already had and fabric I cut off of a drop cloth.   They were pretty simple to make.  After hemming the edge of the runner,  I made ruffles at 2 different lengths and sewed them on the ends so they would just barely touch the seats of the chairs.  To hide the rough edge of the ruffles I added a hemmed strip of the drop cloth on top. Great for all seasons!

Autumn Table Setting

Pumpkin table setting number two:
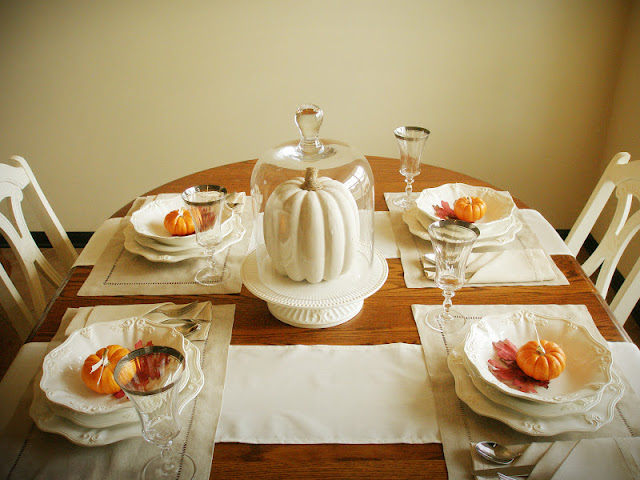
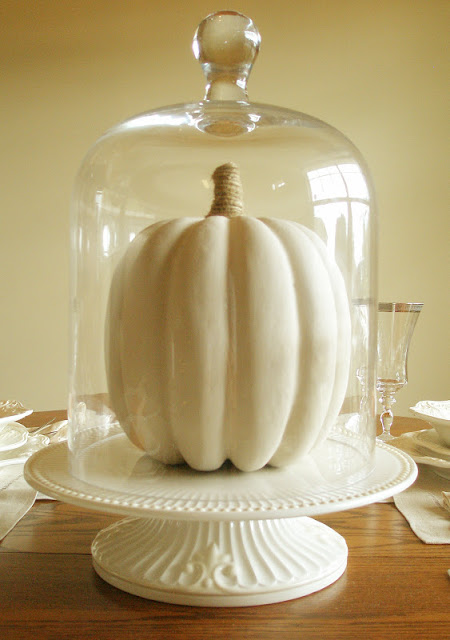
Because of moisture build up in the cloche from the real pumpkins, I decided to change it up a little and use a fake pumpkin instead.

Autumn Table Setting
I painted the fake pumpkin with acrylic paint I mixed myself then wrapped and glued jute twine around the stem.
Autumn Table Setting
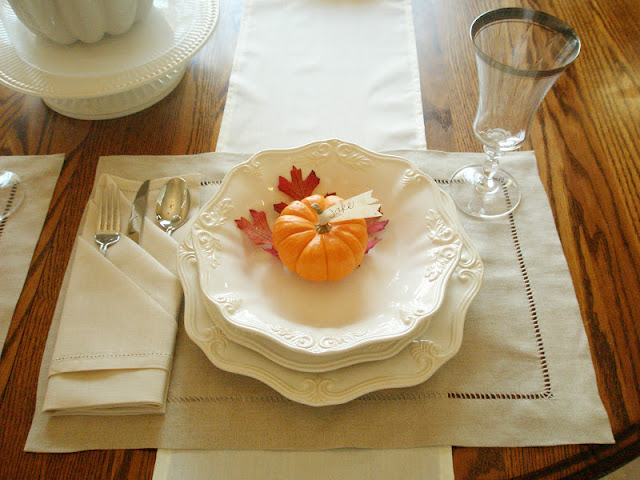
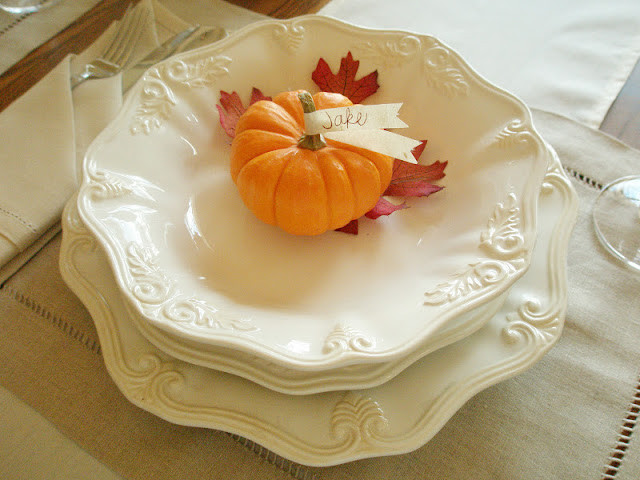
For this setting I added pops of color by placing mini pumpkins in the bowls on top of a few red faux leaves.

Autumn Table Setting
I also added strips of paper to the pumpkin stems to create little place cards

Autumn Table Setting
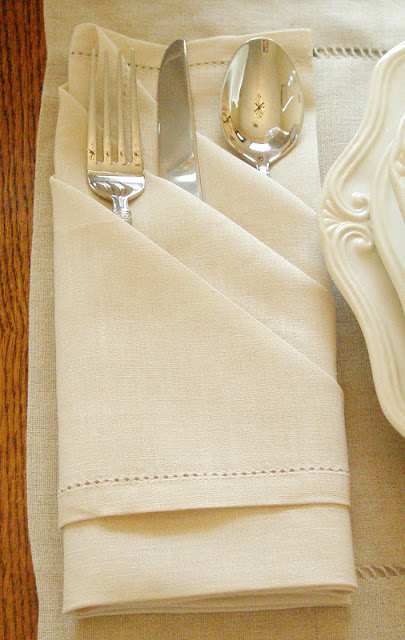
Then I did some fancy napkin folding to create separate pockets for the flatware!

Autumn Table Setting
I think this setting is my favorite!

Autumn Table Setting


I would love to see how you all decorate your tables for Fall!  So please email me pics of your table settings, and if I get enough entries I will share my favorite images in a post!  Just click the "email me" link on the left.

Burlap & Moss Banner DIY

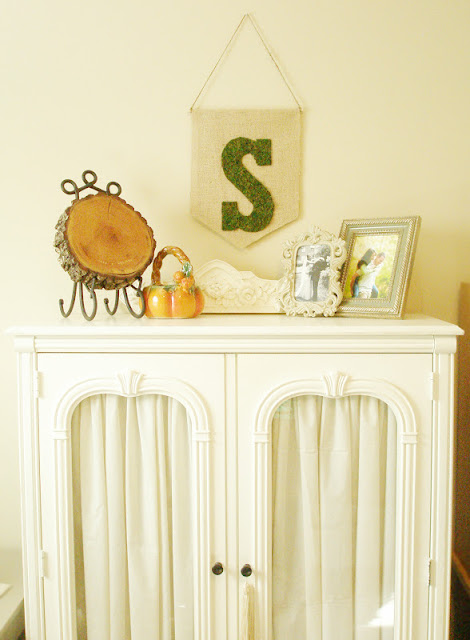
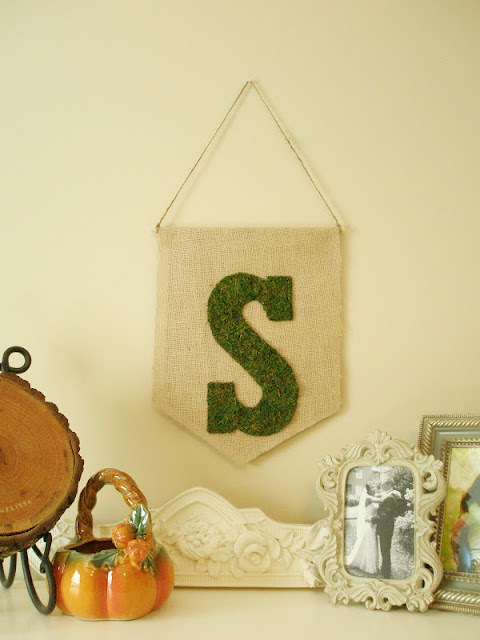
We are slowly making progress on our office/craft room.  I'm not ready to reveal the entire room yet, but I will show you how I decorated my craft cabinet. I also made a burlap banner with moss monogram to hang above the cabinet!
Burlap & Moss Banner DIY
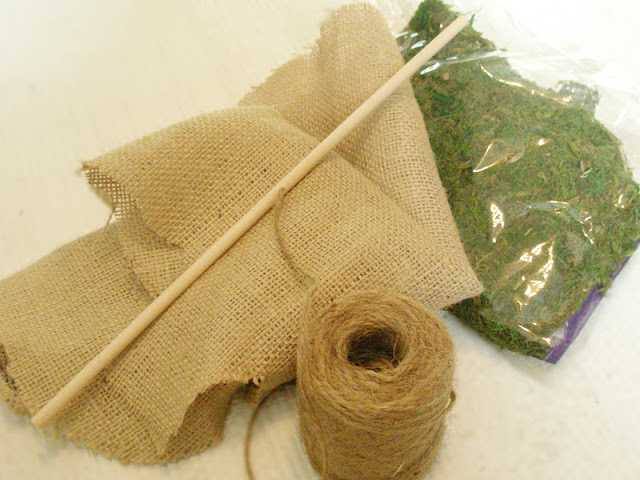
What you need:
  • Burlap
  • Sheet of moss (you can find these at Hobby Lobby)
  • Jute twine
  • Dowel
  • Hot glue gun
  • Card stock 

Burlap & Moss Banner DIY
What to do:

  • Using a straight edge, draw a simple banner shape on the burlap.
  • After you cut out the banner, fold the top down to create a loop and secure with hot glue. Make sure you leave enough space to be able to slide in the dowel.
  • Tie one end of the jute twine on the end of the dowel. Slide it in the top of the burlap and tie the twine on the end of the dowel. Cut off the excess twine.
  • Now draw or print out a large letter on a piece of card stock.  Cut out the letter and lay it on the back of the moss sheet.  Trace around the letter with a permanent marker.
  • After you cut out the moss letter, position it on the front of the banner and secure with hot glue.
That's it! Pretty easy right?

Burlap & Moss Banner DIY
I think it adds a nice Fallish touch!

Burlap & Moss Banner DIY


Dresser/Sideboard Decor

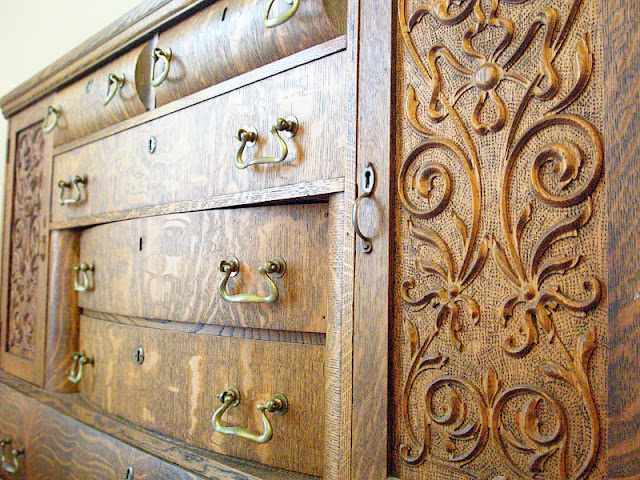
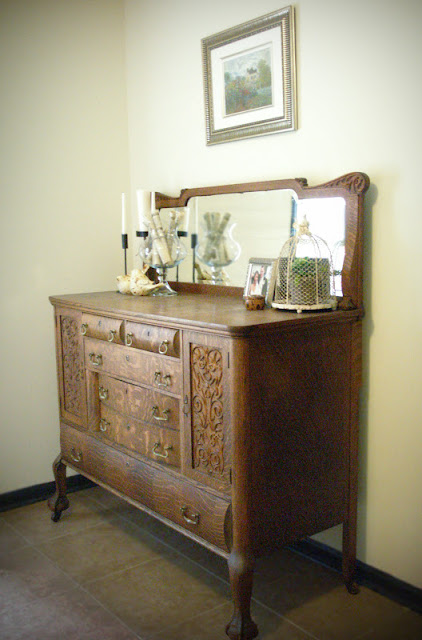
As I mentioned in a previous post I am using my great great grandmother's sideboard as a dresser in our bedroom.  It is definitely one of my favorite pieces in our home, and I recently finished styling it!
Antique Dresser Styling


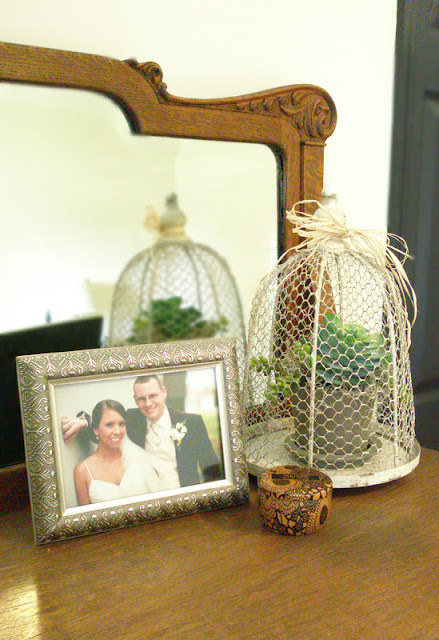
chicken wire cloche
I got the chicken wire cloche at a flea mall near Atlanta, and I put together the succulent arrangement myself! 

succulent arrangement DIY
It was simple to arrange. The small pot is from Ikea and the faux succulents and spanish moss are from Hobby Lobby.  All you need to do is fill the pot with spanish moss and let it flow over a little. Then stick the succulents in and move them around until you are satisfied with the placement.  (They are half off at Hobby Lobby right now!)

Rolled Book Pages in Vase
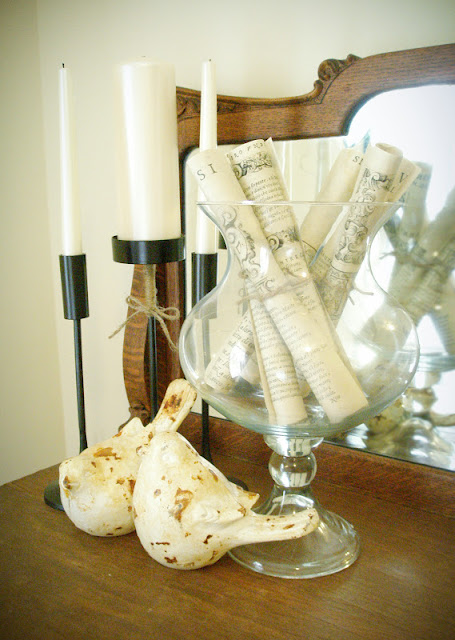
The candles and candle holders are actually the unity candles from our wedding, the two vintage love birds are from Nadeau, and the hurricane vase is filled with book pages. 

Rolled Book Pages in Vase
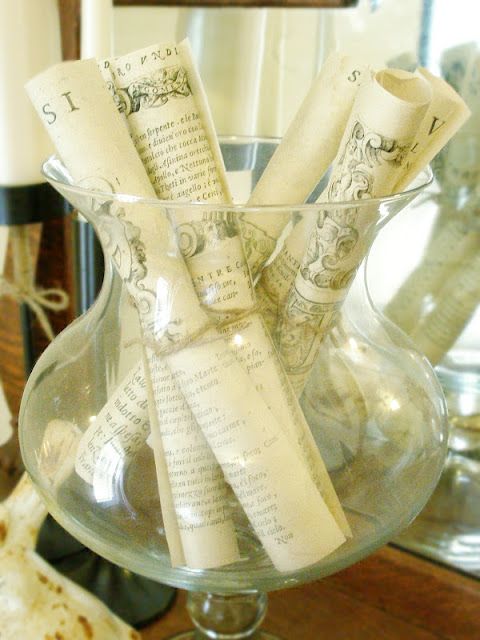
This is an easy look to achieve. I rolled up six vintage book pages and tied them with twine. 

Monet Print
The Monet print I have hanging above the dresser was in my room at my parents house growing up.  One of my favorites!

Antique Side Board
Isn't the wood detail just beautiful?

Antique Dresser Styling