Conduit Pipe Drapery Rod


Conduit Pipe Drapery Rod Tutorial   www.adorbymelissa.com
I have seen several tutorials using plumbing pipe as drapery rods, but after I did my own research I found that it is way cheaper to use conduit pipe.  This is a great budget friendly alternative to long drapery rods.
Conduit Pipe Drapery Rod Tutorial   www.adorbymelissa.com

Total cost for rod= $16 + $7 for spray paint
Conduit Pipe Drapery Rod Tutorial   www.adorbymelissa.com
What you need for one rod:
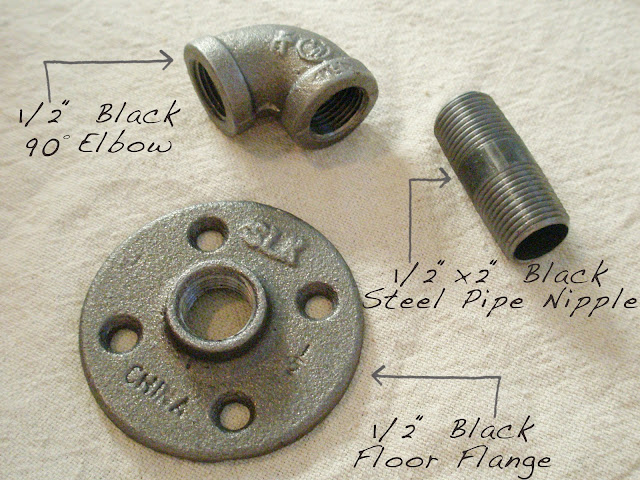
- (2) 1/2" Black 90° Elbows
- (2) 1/2"x2" Black Steel Pipe Nipples
- (2) 1/2" Black Floor Flanges
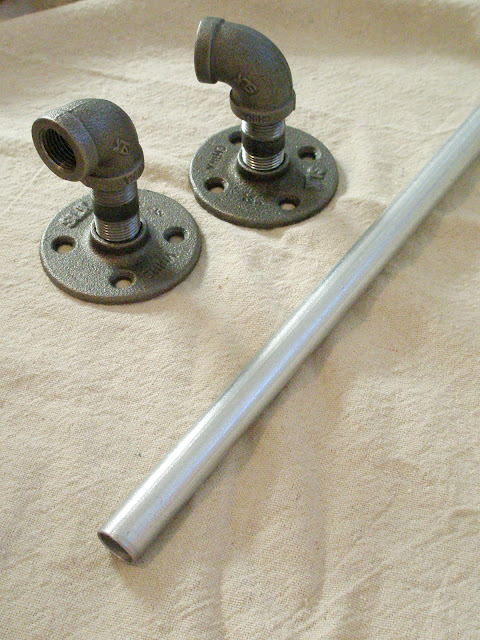
- Conduit Pipe- Sold as a 10' pipe but Home Depot is nice enough to cut it for you. 
- Metallic Spray Paint
Conduit Pipe Drapery Rod Tutorial   www.adorbymelissa.com
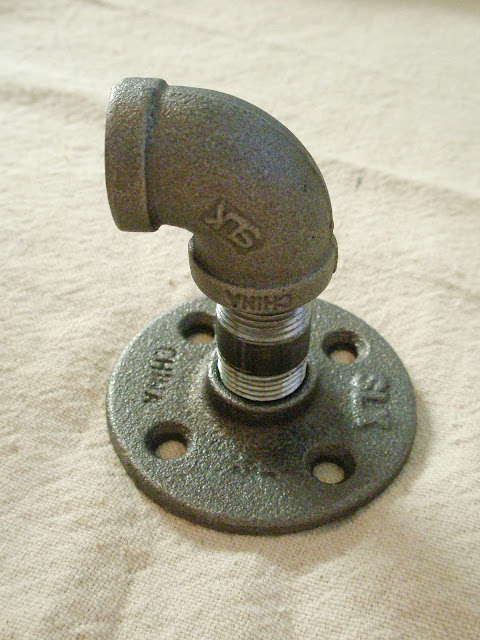
Tightly screw the three plumbing parts together.
Conduit Pipe Drapery Rod Tutorial   www.adorbymelissa.com
Now spray paint the pipe and the flange/elbow combo. I used Rust-Oleum Oil Rubbed Bronze.
Conduit Pipe Drapery Rod Tutorial   www.adorbymelissa.com
After the paint is completely dry, screw in the pipe and drill both flanges to the wall.

The best part about using a 1/2" pipe is that it works perfectly with my fav cheap drapery clips from Wal-Mart. I love how they give an illusion of pleated drapery panels.
Conduit Pipe Drapery Rod Tutorial   www.adorbymelissa.com
It adds the perfect touch of industrial accent, and works great on my large dining area window.
Conduit Pipe Drapery Rod Tutorial   www.adorbymelissa.com

Valentine's Day Gift Inspiration

I'm looking back into the Ador archives today to give you guys some Valentine's Day ideas! Take a look at the gifts and cards I made for Jake the last couple of years to get some ideas for your Valentine.
Handmade Valentine's Day gifts and cards - www.adorbymelissa.com
Image3D custom view-master, hourly gifts with cheesy notes, QR code card, porcelain painted Mr. & Mrs. mugs, hand stitched heart card

Going Social

Melissa Stapleton Interiors and Ador by Melissa now has a Facebook page!


I would really appreciate it if you guys would go LIKE my page. I will share design tips, client photos, and exciting business updates that you won't want to miss!

Also, I would love to connect with you on Twitter, Instagram, and Pinterest. I love finding new people to follow!

Thanks!


Client Kitchen Remodel

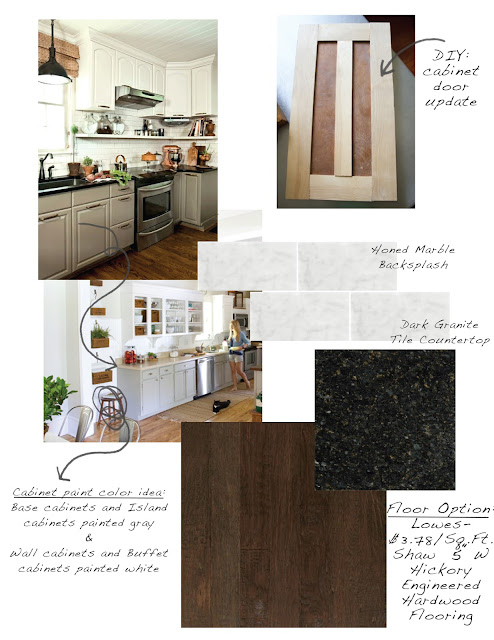
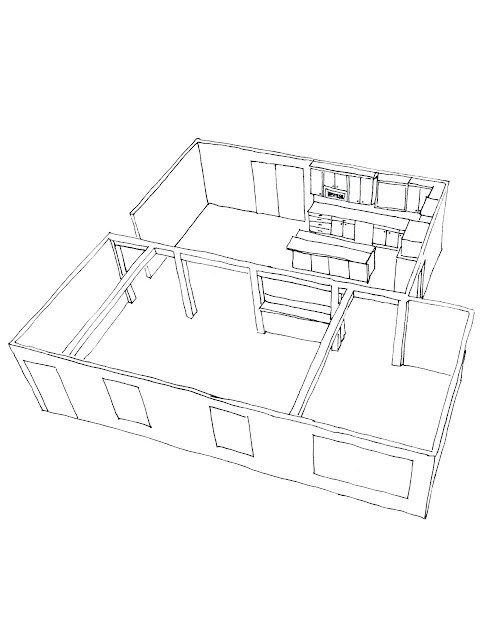
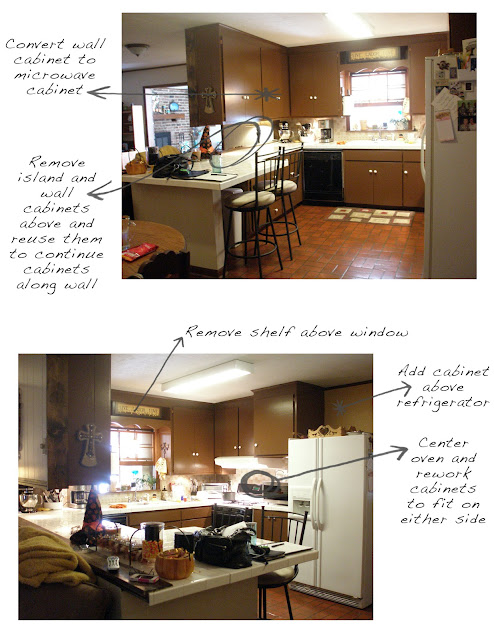
A few months ago I met with a client to discuss options for a DIY kitchen/living area renovation.  We went over ways they could change the layout and maximize space on a budget. I suggested ways they can reuse what they already have and discussed inexpensive options to update the look of their kitchen and living area.

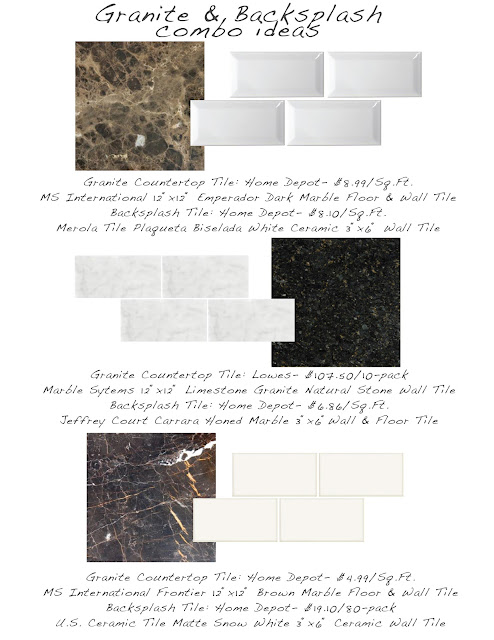
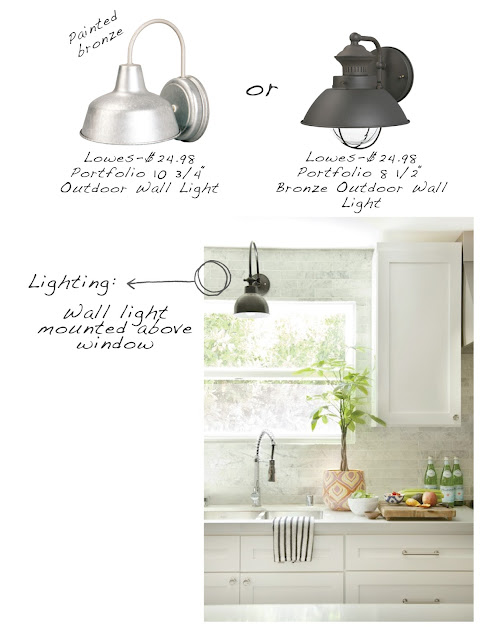
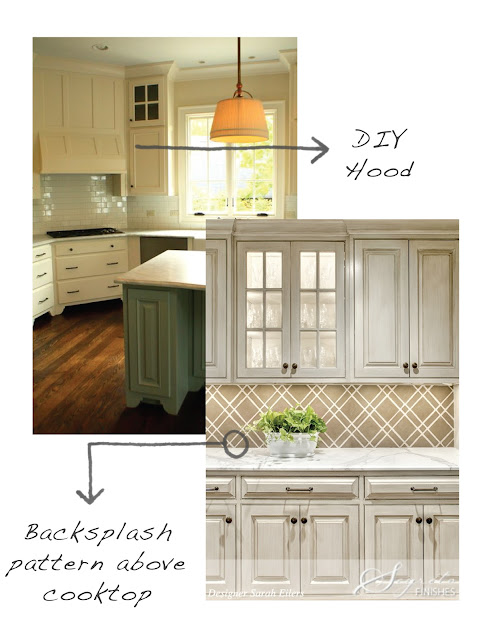
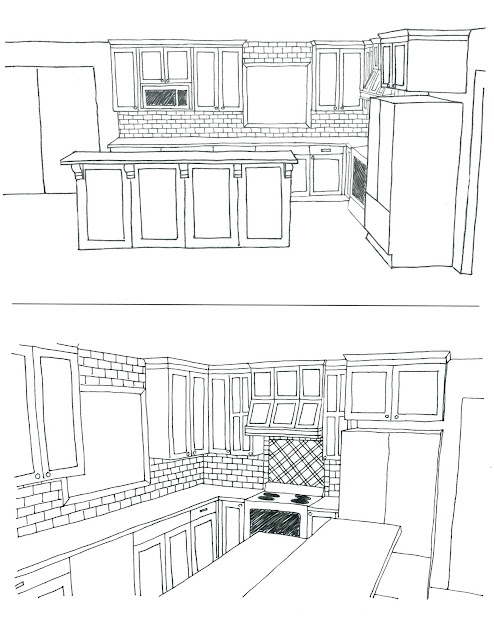
Here are some of the inspiration pictures, rough sketches, and product options that I used to help them visualize my ideas for their space.
Client Kitchen Remodel Inspiration www.adorbymelissa.com

Client Kitchen Remodel Inspiration www.adorbymelissa.com

Client Kitchen Remodel Inspiration www.adorbymelissa.com

Client Kitchen Remodel Inspiration www.adorbymelissa.com

Client Kitchen Remodel Inspiration www.adorbymelissa.com

Client Kitchen Remodel Inspiration www.adorbymelissa.com

Client Kitchen Remodel Inspiration www.adorbymelissa.com


Don't forget to check out my e-design services page to find out more about Melissa Stapleton Interiors.

Calendar Tutorial

Here is a quick and easy DIY to start off the new year!

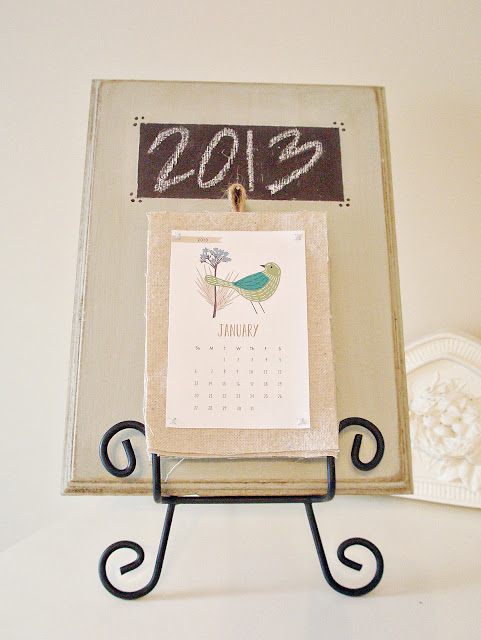
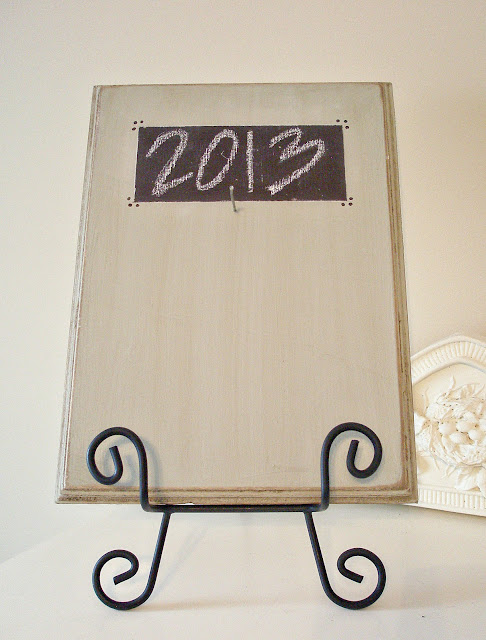
A calendar display board!

Calendar Tutorial www.adorbymelissa.com
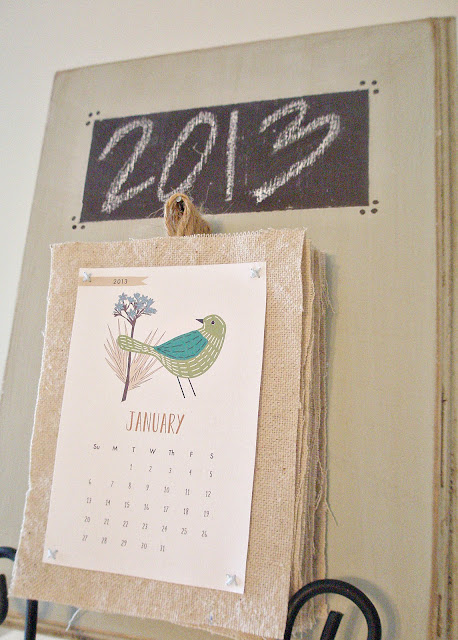
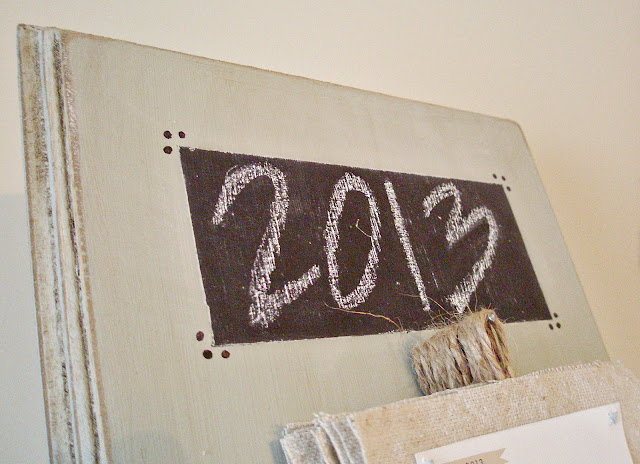
I  found this 12"x9" wood board with a decorative edge at Wal-Mart for $5. I painted and glazed it, and then painted a rectangle at the top using chalkboard paint. After it dried, I added a nail below the chalkboard to hang the calendar from. 
Calendar Tutorial www.adorbymelissa.com
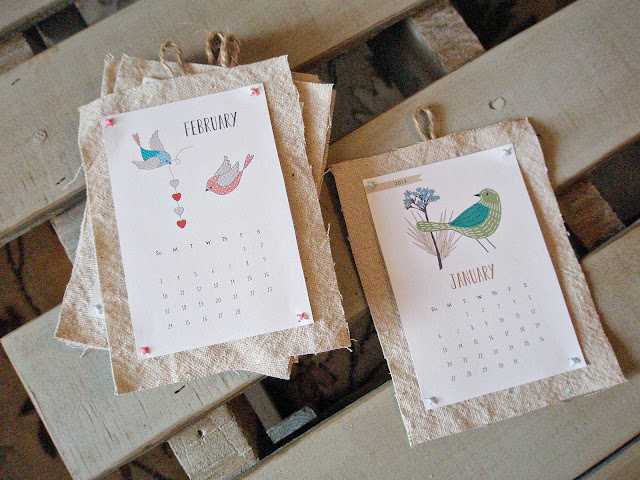
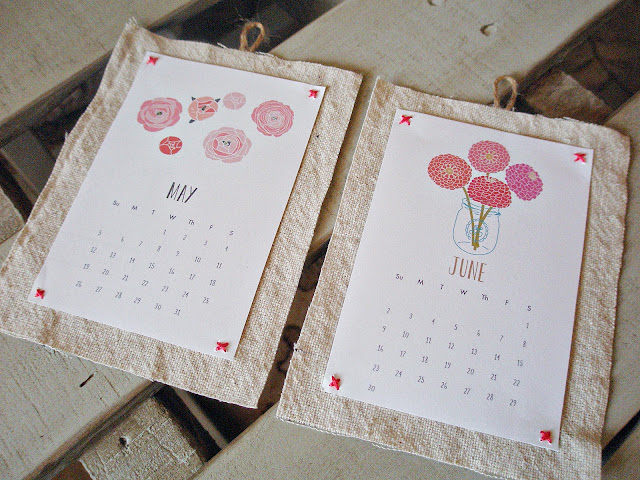
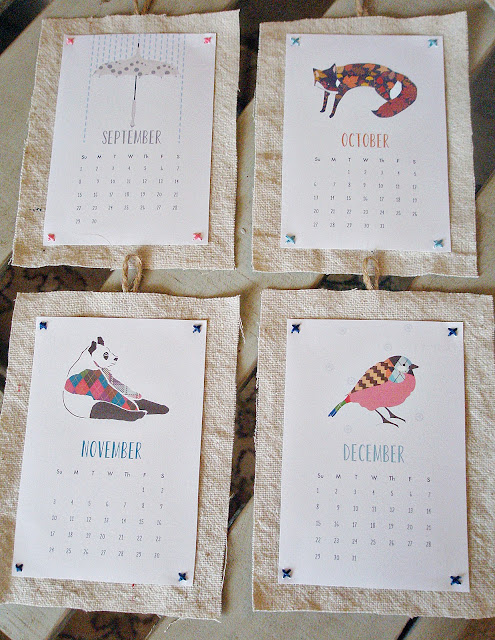
I downloaded this adorable mini calendar from The Ink Nest!
Calendar Tutorial www.adorbymelissa.com
I printed out the calendar and cross stitched the corners to pieces of canvas.  Then I made a loop out of twine and hot glued it to the back.
Calendar Tutorial www.adorbymelissa.com