Instead of one super long post about my Christmas tree I decided to split it up into two parts. Today I will show you my DIY tree topper, garland, and tree base.
GARLAND:
For my Christmas tree garland I used burlap ribbon and grapevine that my Papa cut for me.
First I laid out all the vines and divided them in groups of 5 or 6. Then I secured the vines together with wire and shaped each grouping so it would easily curve around the tree (make sure to use fresh cut vines). The tricky part is adding the grapevine garland to the tree. As I wrapped the garland around the tree, I secured it in place by folding the end of a branch up around the garland. Next I wrapped and twisted the burlap ribbon in the space between the grapevine.
Love how it turned out!
TOPPER:
DIY coffee filter tree topper:
What you need:
-Coffee filters
-Brewed coffee
-Paint brush
-Wax paper
-Card stock
-Hot glue
What to do:
-Spread out the coffee filters on wax paper.
-Then use a paint brush to brush on the brewed coffee and wait for them to dry completely.
-While the filters are drying make a cone out of card stock or poster board.
-To make the ruffles: Gently fold the coffee filter in half then pinch in the center of the fold. Now pull it through your other hand to make a ruffle.
-Twist and fold the tip and hot glue the ruffles to the cone until it is completely covered.
BASE:
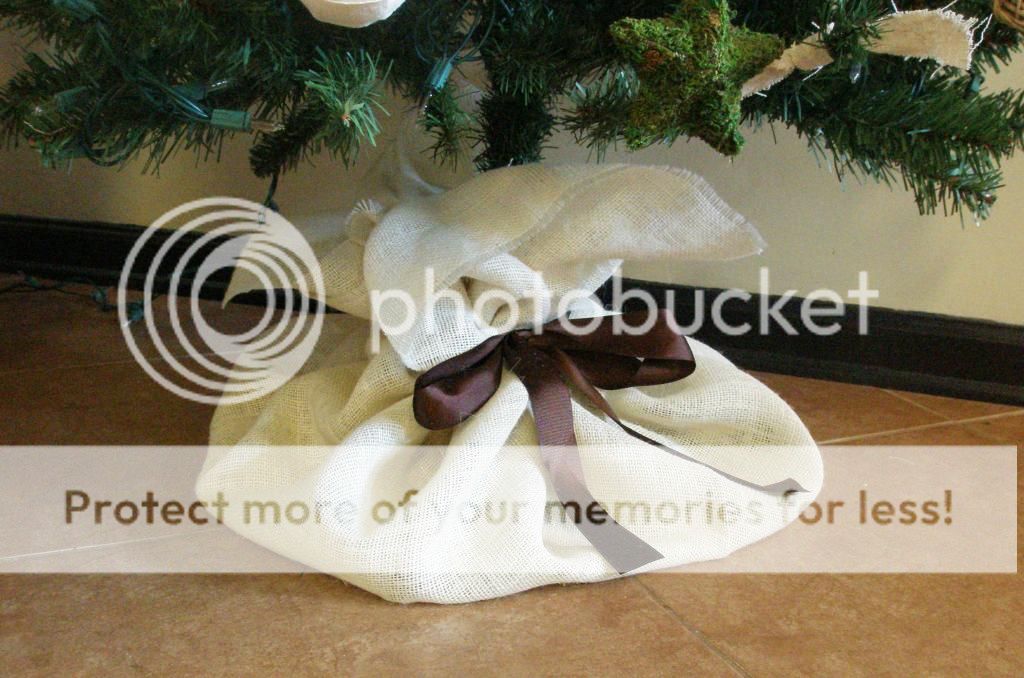
Instead of using a tree skirt this year I decided to keep it cheap and simple and use a couple yards of burlap. I set the tree base on the center of the burlap and lifted it up around the trunk. Then I secured it by tying a piece of wide ribbon around it in a bow.
Come back tomorrow to check out my ornaments!


LOVE it!
ReplyDeleteHelen
Blue Eyed Beauty Blog
Exercise Encouragement Group Blog