
Good! Me too!
What you need:
-A matching pair of buttons
-Some old small earring studs you don't wear anymore or some craft earring posts and backs from Hobby Lobby.
-Hot glue gun
-Quilt batting
-Fabric of your choice
-Needle and thread

What to do:
-Hot glue the earring stud to the front of the button. You want to make sure the smooth side is facing out.

-Next cut out a circle of fabric that is 3 times the diameter of the button.

- Now get your needle and thread and sew a loose stitch around the edge of the circle. Don't cut the thread yet.

-Get your quilt batting and cut out a circle that is the same size as your button.
-First put the batting circle in the middle of the sewn fabric circle and then put the button on top of that.

-Hold the three pieces together as you gently pull the thread so it gathers the fabric around the button and batting. (like you're making a fabric yoyo)
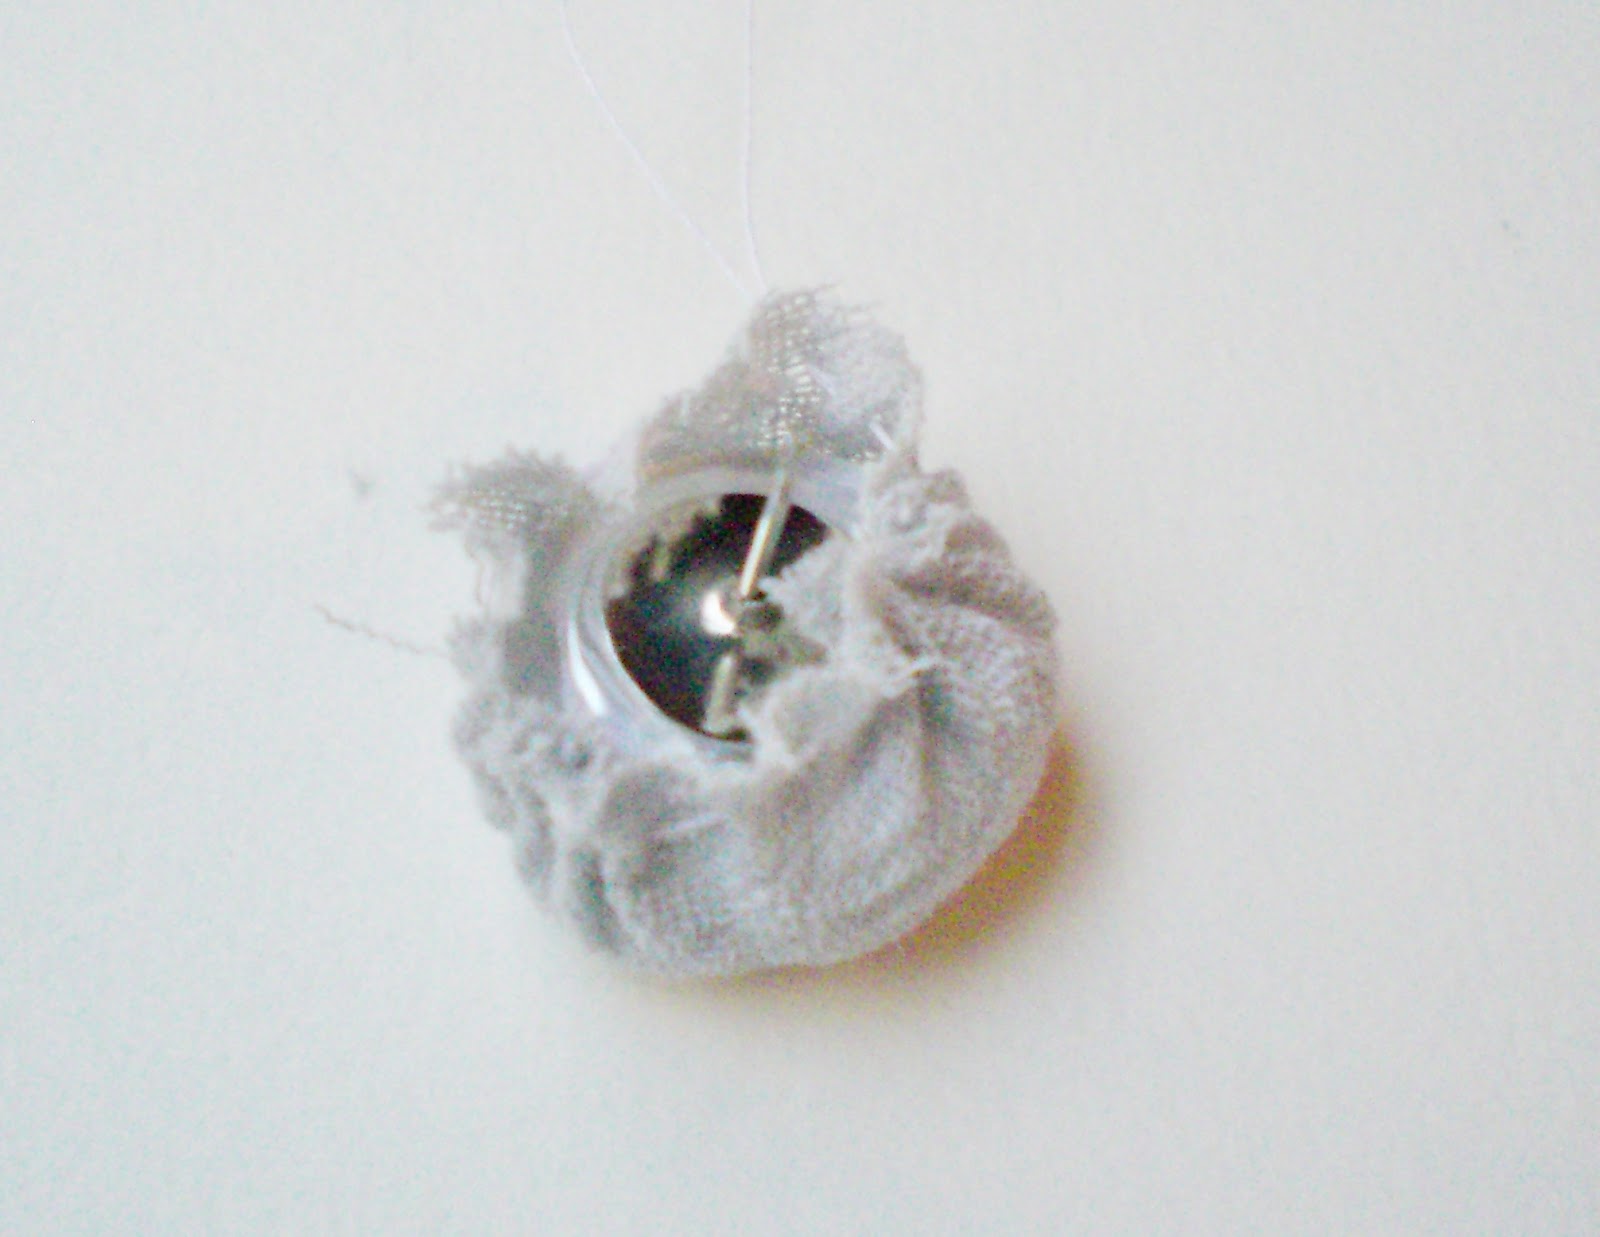
-After the fabric is pulled tight make a few stitches to secure it, knot the thread, and cut off the excess thread and fabric.


You can easily make enough to match any outfit.


Aren't they so cute? I get compliments whenever I wear a pair!

These are my favs!
Have fun!
Check out who I'm linking up to, here.
So cute! I have been wanting some smaller earings on the days I dont feel like wearing my huge danglers;) Thanks for sharing!
ReplyDeleteOooh how cute and easy! I've made dangly earrings but never ones like these!
ReplyDeleteThat is such a fun idea! I love the fabric you chose.
ReplyDelete--Leigh
LOVE this idea! I've always wanted to the fabric covered button thing, but didn't really want to buy one of the kits! I'm definitely going to have to try this!
ReplyDeleteVery clever! The floral ones are my favorite too! Come link up to my Sew Crafty party & giveaway!
ReplyDeletehttp://wildflowersandwhimsy.blogspot.com/2011/01/sew-crafty-saturday-adventure-date.html
I really enjoyed this earring tutorial!!!
ReplyDeleteThanks for sharing!!
Please come by and link this to my party!
WWW.TOOTSIEWOOTSIEBOUTIQUE.BLOGSPOT.COM
And i have a great Giveaway going one for ITHINKSEW.COM!
-THE TOOTSIE WOOTSIE :)
Great idea, I love all the fabric
ReplyDeleteHi! These are all so cute! would love for you to link up at our Crafty Saturday Party!
ReplyDeletehttp://tosewwithlove.blogspot.com/2011/01/crafty-saturday-link-up-party-no-3.html
Found you through the toostie wootsies linky. I'm at mommydoes.blogspot.com if you want to check me out. I'm also a participant in A Blogtastic Extravaganza and Mariel from The tootsie wootsie is one of my sponsors! Post for the giveaway is up top. I'm following you now :)
ReplyDeleteHi! I just wanted to let you know I featured you today on my blog stop by and grab a featured button if you like. And I hope you will link up again this weekend! ~April
ReplyDeletehttp://wildflowersandwhimsy.blogspot.com/2011/01/friday-features-adventure-date-winner.html
Such an adorable tutorial! Love the end result :)
ReplyDeleteDefinitely regretting not buying that adorable fabric the other day :( This is a brilliant idea for all those scraps of fabric from other projects. Or skip the fabric and use unique buttons. Love this idea!
ReplyDeletehttp://lannalsu.blogspot.com/
Hey girl. These were too cute! I gave it a try and posted the results on my blog, but not without giving you credit! Thanks.
ReplyDeleteOh my gosh. I can make my own covered buttons out of crummy buttons???? I have a TON of crummy buttons!! :)
ReplyDeleteNice blog with nice post.
ReplyDeleteBeautiful project, I love it! I featured it on my "B = Button" post ;)
ReplyDeleteQuilting Patchwork & Appliqué