Welcome to our new home!
When my husband and I got married I moved into his college apartment while he was finishing school. It was small, dark and ugly! However it was super cheap and a great location for Jake to walk to class. Two degrees and almost three years later we have finally gotten out of there! Woo!
We still live in Auburn, but now we are renting a cute townhouse! I have been having so much fun decorating our new place on a budget!
I still have a lot more I want to do but I thought I would share my progress...
Dining Area:
Finally able to display my Lenox Butler's Pantry! The boxes in the corner contain the rest of the china, and I hope to soon have a china cabinet to display them in.
Things to do/get:
- Wall decor
- 4 more chairs or 2 chairs and a bench
- China cabinet
- Drapery panels/drapery hardware DIY
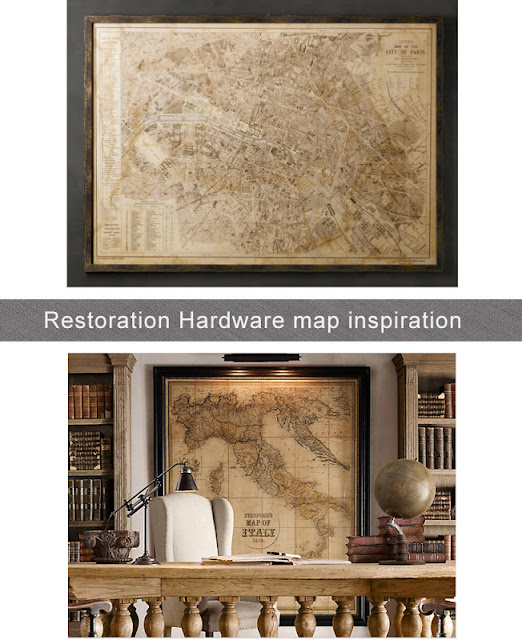
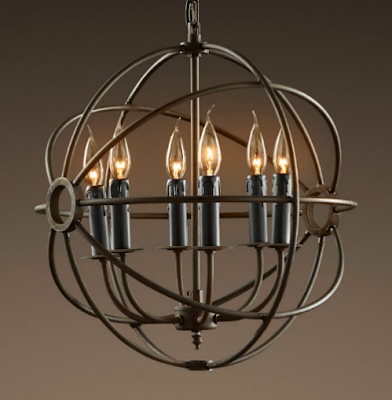
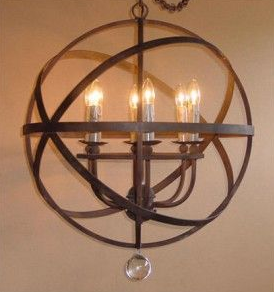
- Chandelier DIY (coming soom!)
- Area rug (I have a jute rug that I plan on painting)
Aren't these Zinnias gorgeous! They are from my parent's garden! Zinnias are my favorite!
Living Area:
The wall behind the TV used to be dark glossy green! Blah city! So one of the first things I did was paint it to match the other neutral walls. Antique White by Sherwin Williams
Things I need to do/get:
- Lots of wall decor
- Coffee table DIY
- End tables
- Lamps
- Drapery panels
- Pillows
- Sofa table DIY
- DIY topiary to hide the speakers on either side of the TV
- Stain ladder shelf
- Figure out a way to hide the sub speaker on the floor
And now my pride and joy...
Is it possible to be in love with a rug?
I bought this rug from
Hautelook. It's a Jaipur rug that I have had my eye on for a long time so I was so excited when I was able to get it for a super discounted price!
Our TV stand was a desk that I got from the thrift store right after we got married. We added shelves, painted it, and got some pretty
pulls and
knobs from Target.
Jake knows I'm not crazy about all the tech stuff clutter, but marriage is about compromise. I remind him that he married an interior designer and then he reminds me that I married a guy. A guy who likes video games and speakers. He says he likes to challenge me with design dilemmas!
Now that I'm looking at this pic I am thinking that the wii board will soon find a new home, in the closet...
I got this crate at Southeastern Salvage in Irondale, its an antique soda bottle crate!
And that is brown rice in the candle holder (kind of looks like sand in this pic)
Don't you just love my ladder shelf!?!
It was completely free thanks to my mom for rescuing the ladder and pallet, and my dad for working so hard putting it together!
I will have a separate post dedicated to it soon!
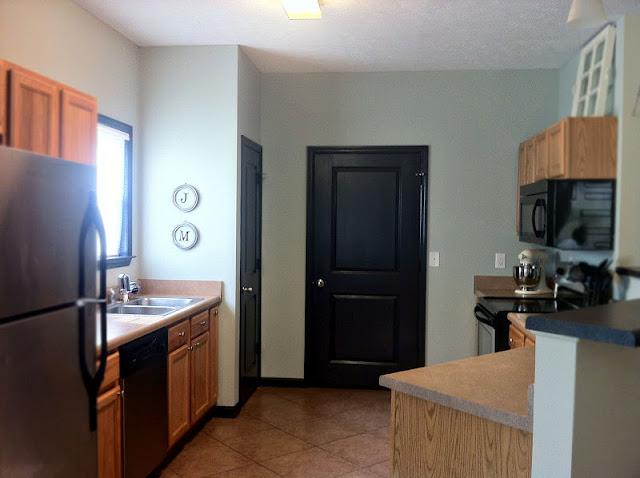
Kitchen:
The kitchen was also painted the blah dark glossy green. So I painted it Silver Sage by Restoration hardware!
Sadly we don't have a Restoration Hardware around here so I went to Sherwin Williams and asked them to color match. Luckily they already had the Silver Sage color formula in their system!
I describe the color as a warm light blueish greenish gray. We love it!
Things to do:
- Take down the mini blinds and add cafe shutters (coming soon)
- Change out the pendant lights (semi DIY)
My grandmother gave me the Vintage Typewriter Key wall decor! They are from Tracery in Rosemary Beach, FL. Thanks Monnie!
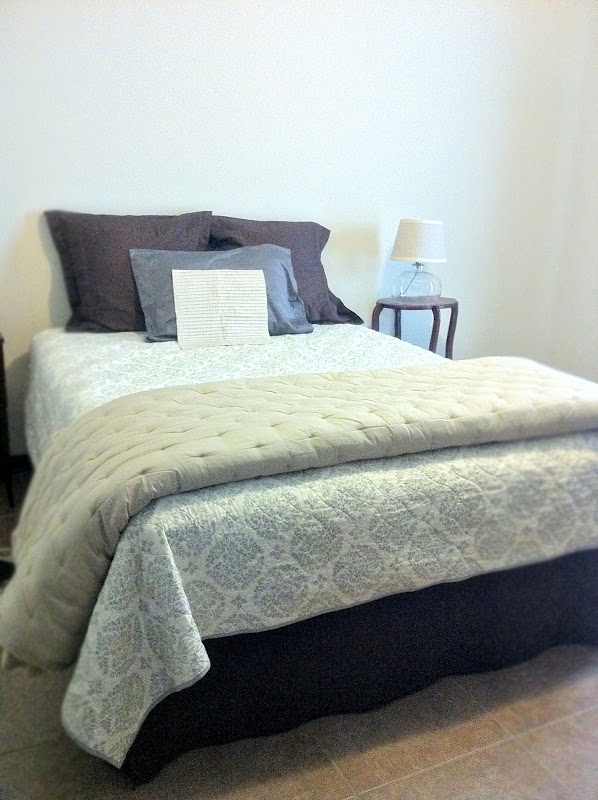
Master Bedroom:
Please excuse the pillow situation, I just laid out some fabric. (work in progress)
The clear glass lamps are from Target (on sale for $20!)
Things to do/get:
- Plush tufted headboard panels DIY
- Wall decor
- Area rug
- Pillows
- Nightstands (the nightstands I currently have in here will go in the guest bedroom)
Instead of a dresser in our bedroom, I decided to use my great great grandmother's sideboard!
It's beautiful and special!
I made these drapery panels myself! I will post more on them later.
Guest Bedroom:
The
duvet cover and
linen pillow covers are from Ikea, and the lumbar pillow is from a boutique in downtown Homewood, AL. (It was a gift from my mom so I'm not sure which one)
The shutter headboard was in the log cabin at our family tree farm. They recently got a new bed for one of the rooms and asked if I wanted this one. Of course I said YES! It is currently painted black, but I plan on painting it gray...I think.
I jokingly call this room my dressing quarters because this is where I get ready and I use the closet in this room. The vanity is an antique that was in my room at my parents house growing up.
I recovered the vanity chair with some fresh colorful fabric!
Things to do/get:
- Paint the shutter headboard and securely attach to the wall
- Wall decor
- Throw for the foot of the bed (I'm thinking peach)
- DIY ombre drapery panels
- Area rug
I haven't included pictures of the office or the two bathrooms because I'm not quite ready to share pics of them yet. The bathrooms are still painted dark green and Jake hasn't had much time to organize his side of the office yet.
We are renting our home so there are some things about this place that I will just have to live with.
Things I don't love but can't change:
- Cabinet finish (not crazy about the orangey oak)
- Tile flooring throughout (area rugs to the rescue)
- Laminate countertops
- Fluorescent light in the kitchen
Those are just minor things I can live with for a year, and the positives def outweigh the negatives!
Things I love:
- Black doors and trim
- A lot of natural light!
- My own washer and dryer!
- Separate bathrooms and closets! (love ya hubs)
- Way more space than our last place
- Our little yard
- And I love that our townhouse is on the end! More privacy and we never hear our neighbors!
Well this post took me forev! Stay tuned for updates big and small as I get around to working on my long list of buys and DIYS! It's gonna be fun!